ACI can be configured via the CLI console command and the web based interface. But there is another option – which enables automation by scripted configuration.
Lets have first a view on the internals.
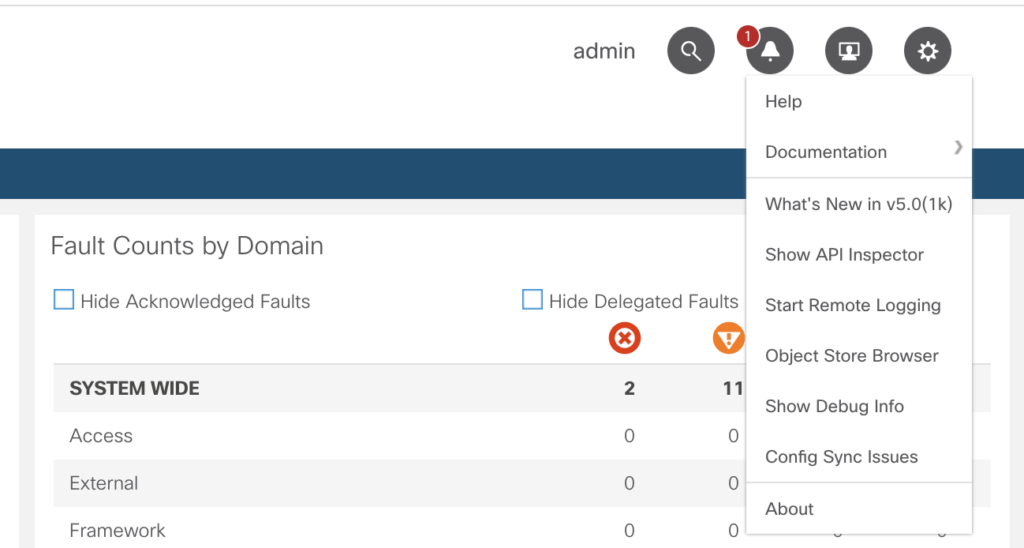
If you click on the gear symbol on the upper right side of the web based interface you’ll notice an option „Show API inspector“.
Now you’ll get an additional window – the API inspector.
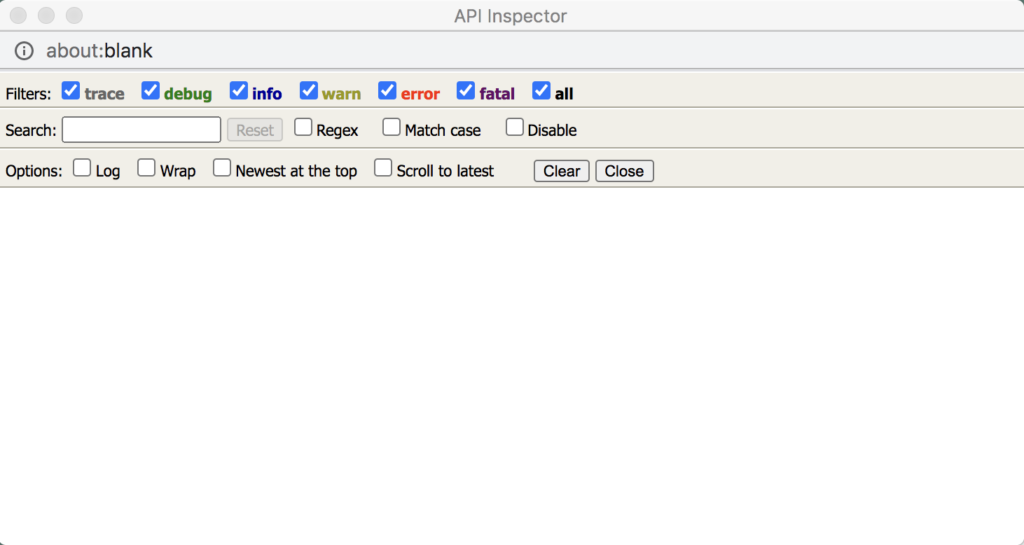
and if you choose the various pages within the APIC web console, you’ll see the corresponding communication within the API inspector.
There are filters available, and it is possible to search in the output for certain keywords.
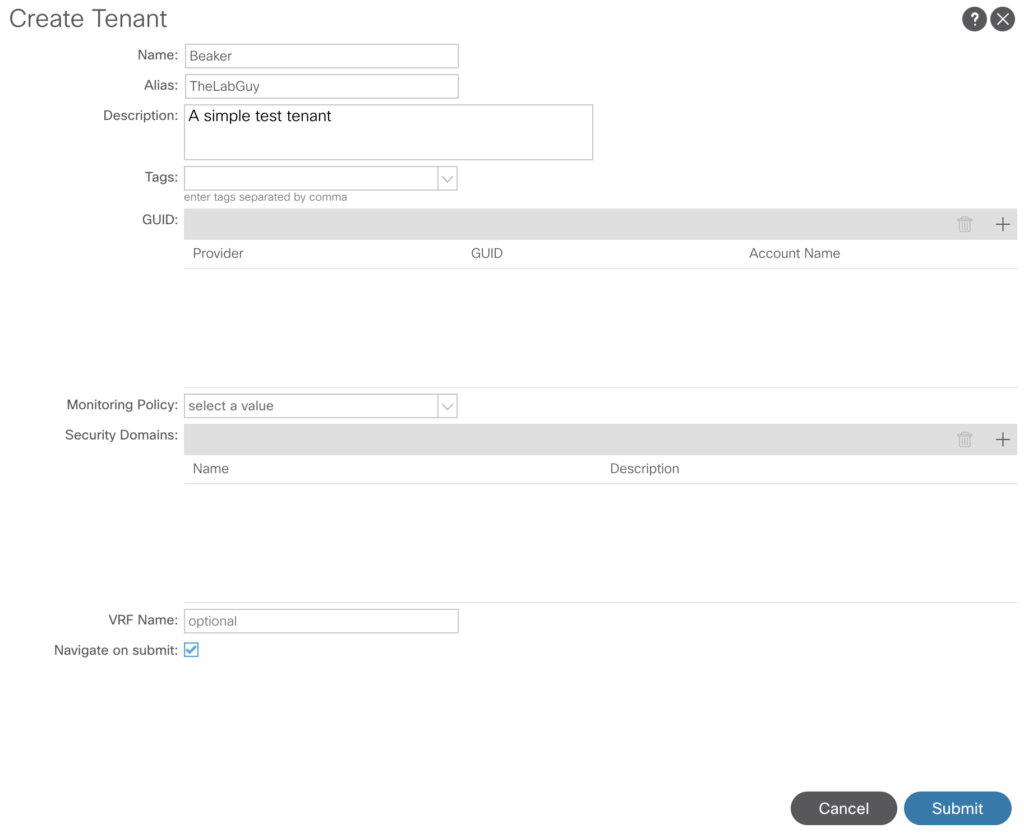
As an example – we just add a Tenant.
-> Tenants -> Add Tenant
To keep it simple, I’ve just filled in three fields.
After pressing „Submit“ the API inspector is being updated.
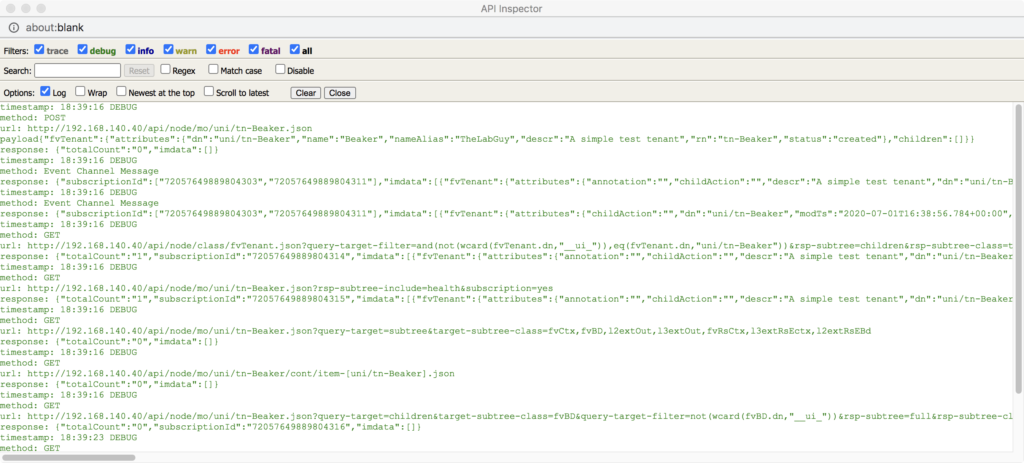
if you now search for „POST“ – here we go.
method: POST
url: http://192.168.140.40/api/node/mo/uni/tn-Beaker.json
payload{"fvTenant":{"attributes":{"dn":"uni/tn-Beaker","name":"Beaker","nameAlias":"TheLabGuy","descr":"A simple test tenant","rn":"tn-Beaker","status":"created"},"children":[]}}
response: {"totalCount":"0","imdata":[]}
timestamp: 18:39:16 DEBUG
That is the payload JSON code triggering the creation of a tenant.
But how to do this from an external tool or even better by a script?
To achieve this, we’ll start with Postman, a collaboration platform with huge capabilities – to go into detail is far beyond of our scope here. We’ll install the application and have a look how this works in principle.
Software download is at : https://www.postman.com/downloads/
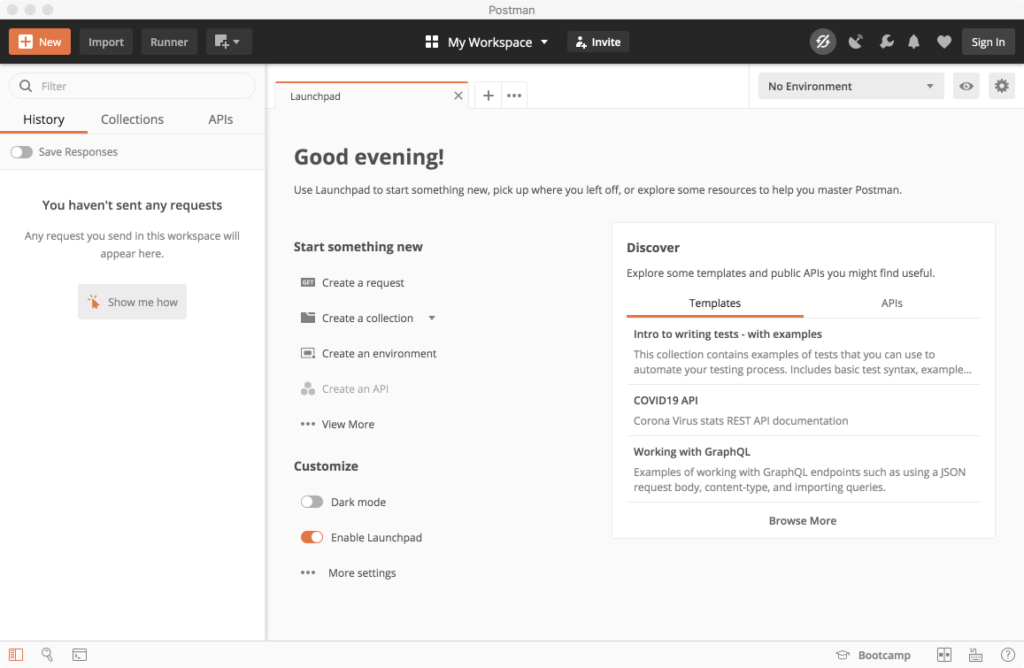
After download and stepping over the initial questions (I’ve skipped the login part to keep it simple) you ‚ll see the postman interface like this.
To access your APIC you need to create an environment. Click on „Create an enviroment“ in the middle of the window (beneath „Starting something new“).
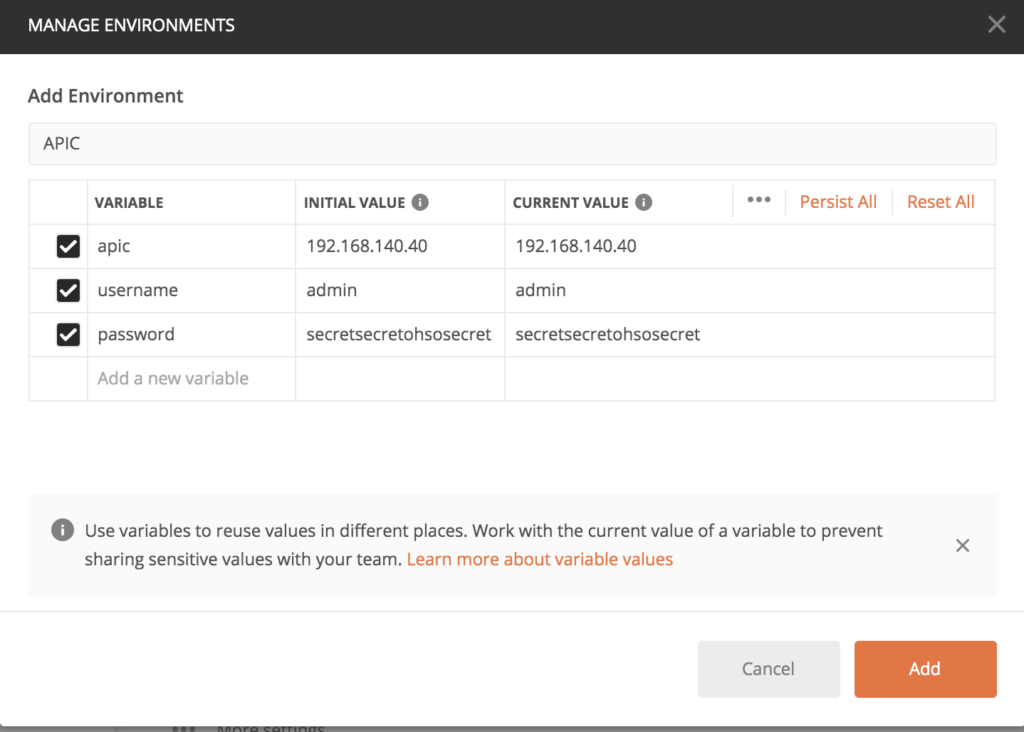
Those are the basic details you need to access the APIC, IP-address, username and password. Close the window by „Add“.
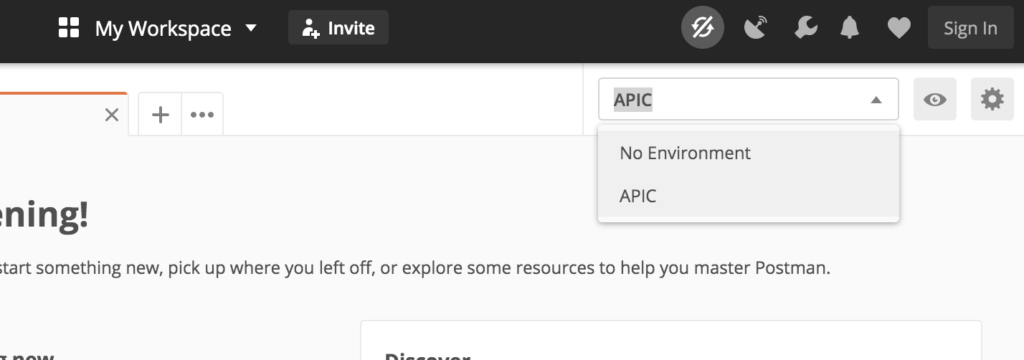
in the right corner now the selection „APIC“ (or whatever name you’ve chosen) is available.
To check, if your access is now in place, just create a new request (in the launchpad tab).
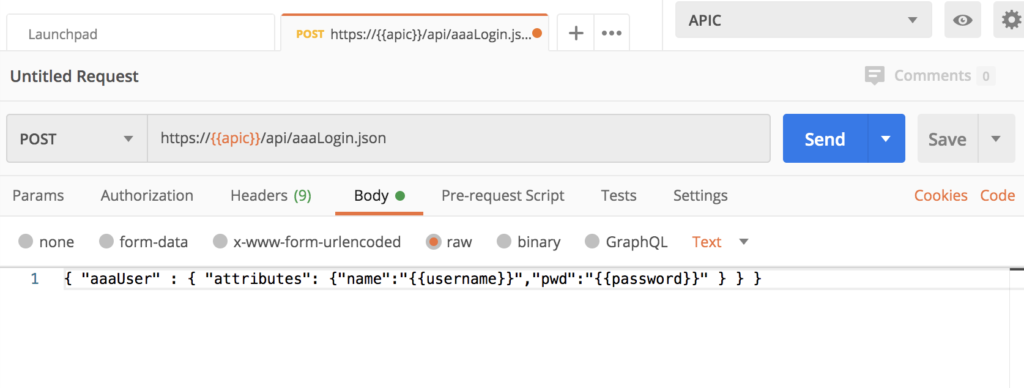
The POST field has to be filled with
https://{{apic}}/api/aaaLogin.jsonand the body field (please select „raw“) with
{ "aaaUser" : { "attributes": {"name":"{{username}}","pwd":"{{password}}" } } } apic, username and password are the variables we’ve defined for the environment.
After pressing „Send“ – you’ll get an answer from the system.
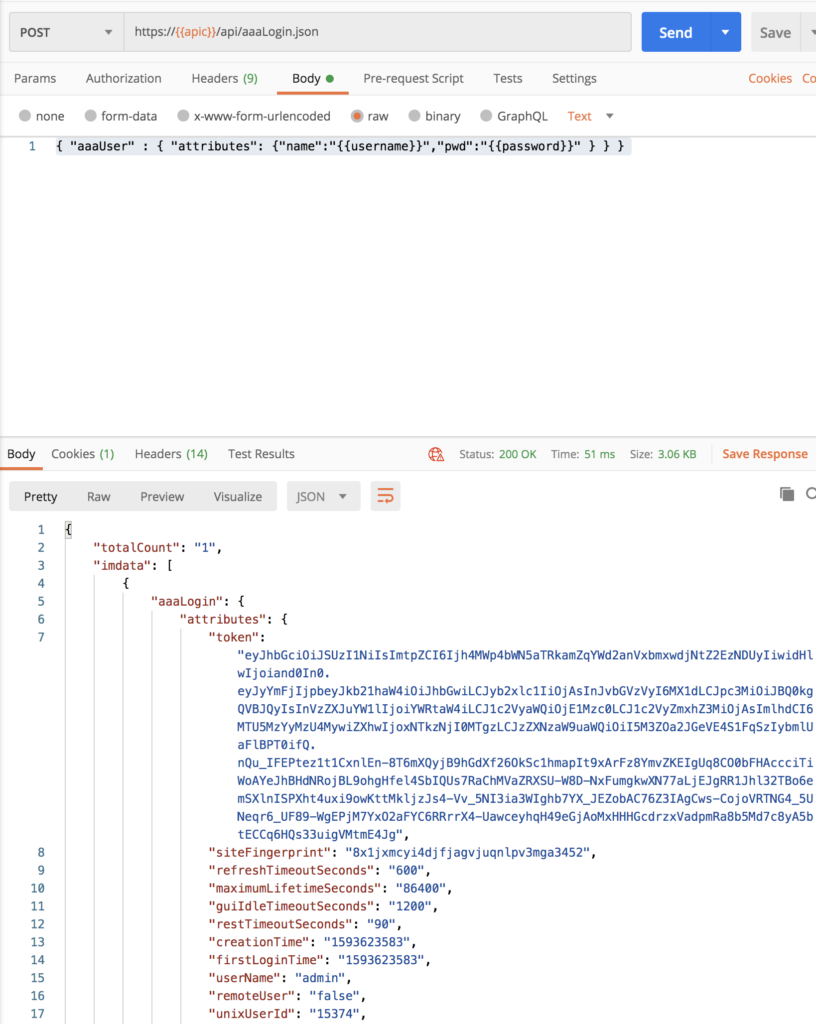
Another achievement – we are now able to communicate via Postman.
Next step – we’d like to create a new tenant. If we go up – we’ll see all the information required to launch this via our tool.
CAVEAT: The API inspector captured call ist http – but it has to be https. http is only being used internally in the APIC.
The POST-URL will be:
https://{{apic}}/api/node/mo/uni/tn-Beaker.json
and the payload (the information for the body section) will be.
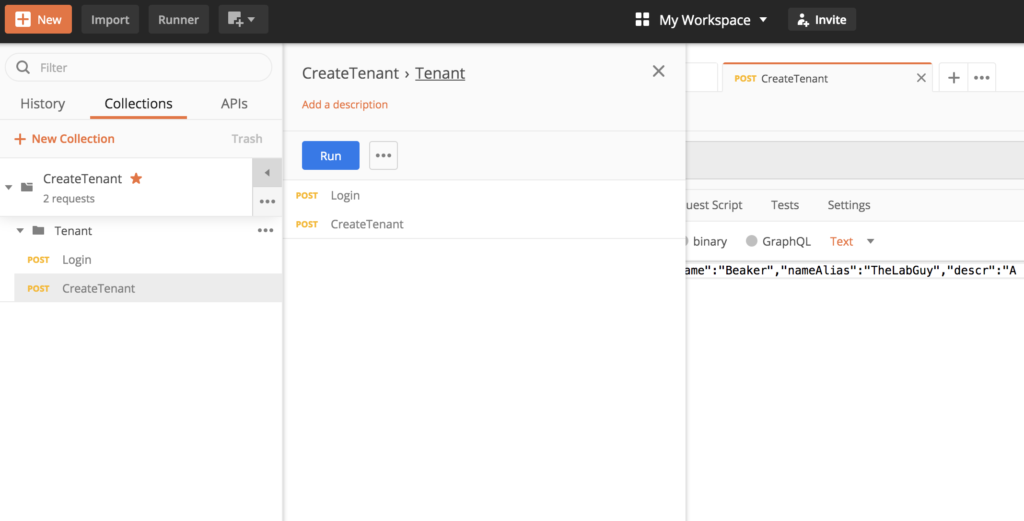
{"fvTenant":{"attributes":{"dn":"uni/tn-Beaker","name":"Beaker","nameAlias":"TheLabGuy","descr":"A simple test tenant with Postman","rn":"tn-Beaker","status":"created"},"children":[]}}you’ve to add those two request into one collection.
Pressing „Run“ will open a new window.
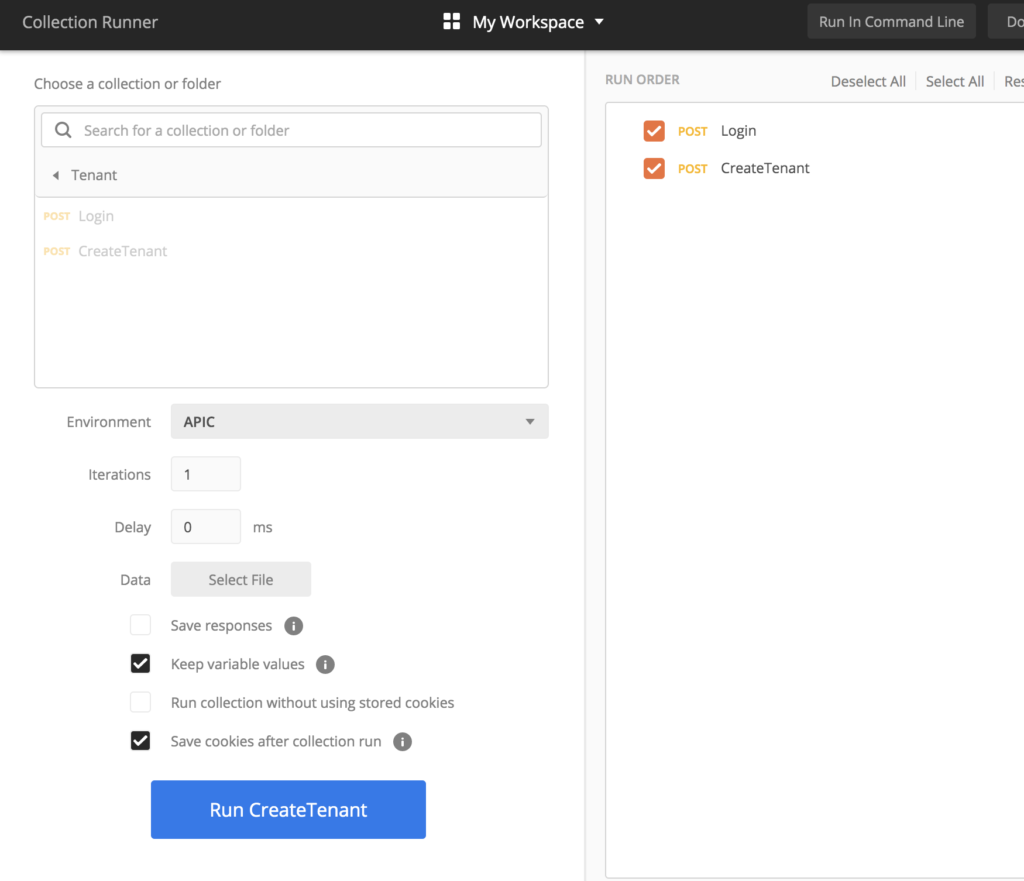
Pressing „Run CreateTenant“ triggers the collection to be executed.
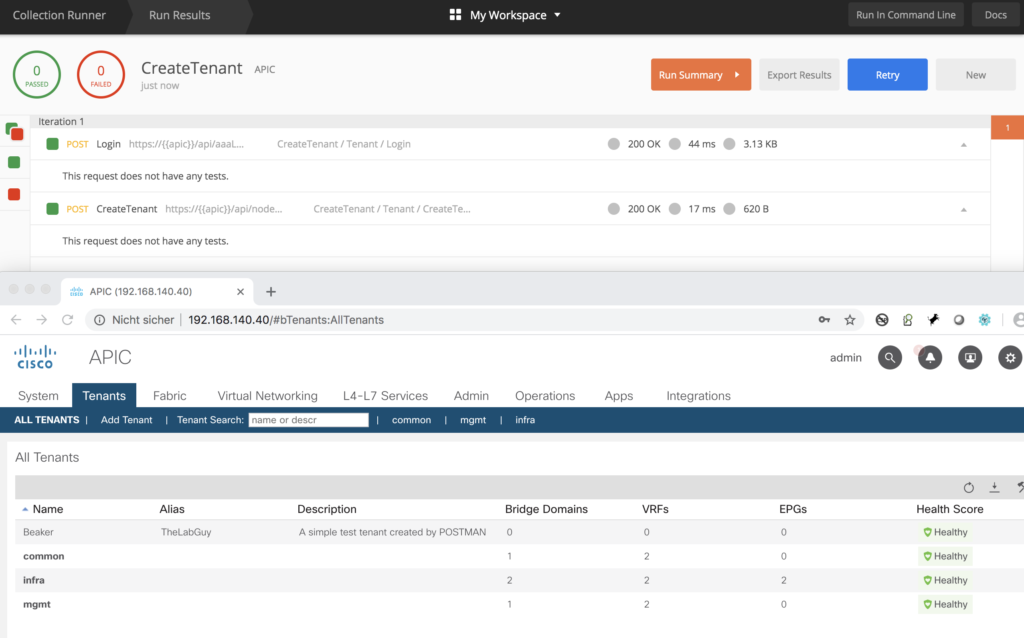
The lower half of the image shows in the APIC console our new tenant.
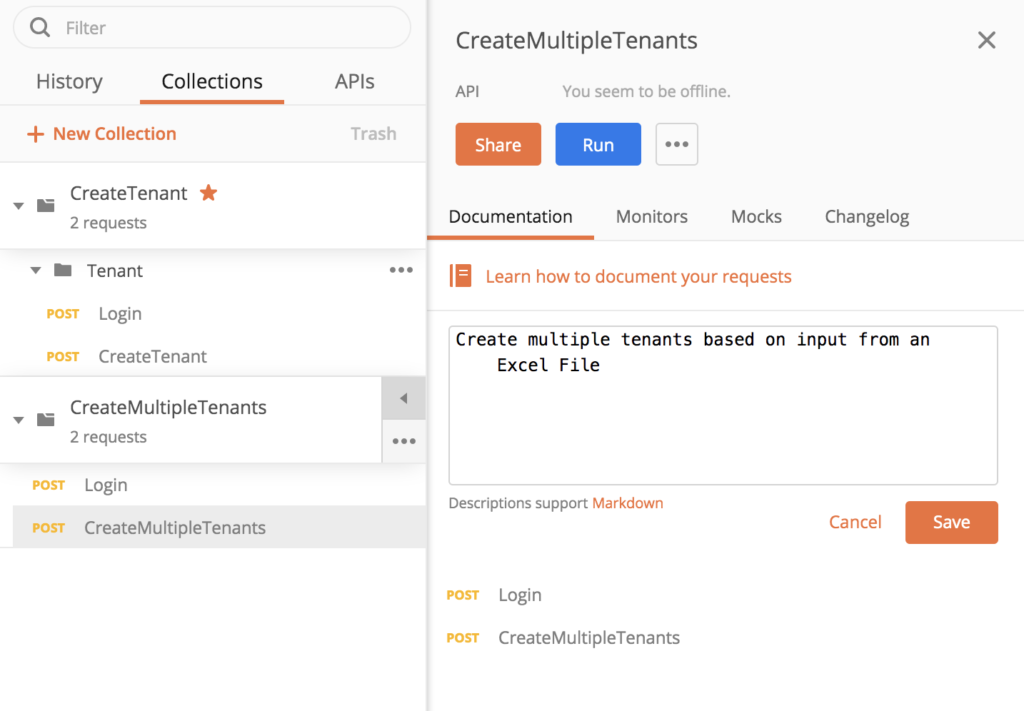
Postman and Excel Input
To stay with our example above – how to create multiple tenants with one go based on the input of an excel table. This is quite straight forward.
We do need:
- Collection to control the build
- within the collection the commands to login to the APIC (we’ll just copy the one we’ve already created)
- and a control table (in this case an excel file)
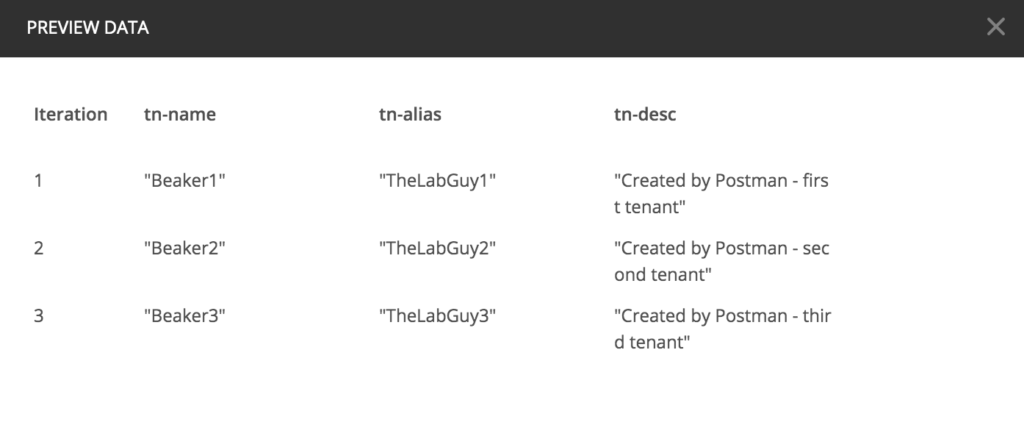
The input we do need for this simple example is the name of the tenant, an alias and a description.

Save this list as a comma-separated CSV file (important!).
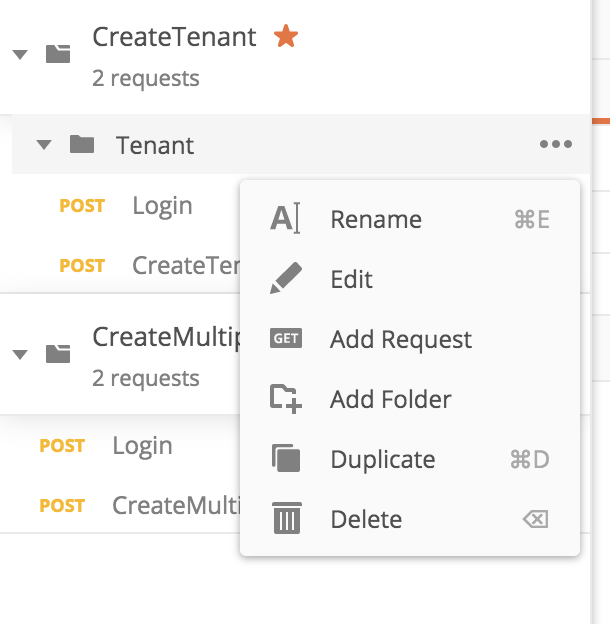
We’re going now to create a new collection with the modified payload to use the input list, we just copy the existing two examples (right to the request name there are three dots, which will give you a context menu).
Next step – modify the payload and replace the static values with variable names (use those header names from the excel list).
Static version:
{"fvTenant":{"attributes":{"dn":"uni/tn-Beaker","name":"Beaker","nameAlias":"TheLabGuy","descr":"A simple test tenant created by POSTMAN","rn":"tn-Beaker","status":"created"},"children":[]}}Updated version:
{"fvTenant":{"attributes":{"dn":"uni/tn-{{tn-name}}","name":"{{tn-name}}","nameAlias":"{{tn-alias}}","descr":"{{tn-desc}}","rn":"tn-{{tn-name}}","status":"created"},"children":[]}}And you’ve to change as well the Post Request to:
https://{{apic}}/api/node/mo/uni/tn-{{tn-name}}.jsonSave your work – and press run as in the example above.
After pressing „Run“ the control window will open.
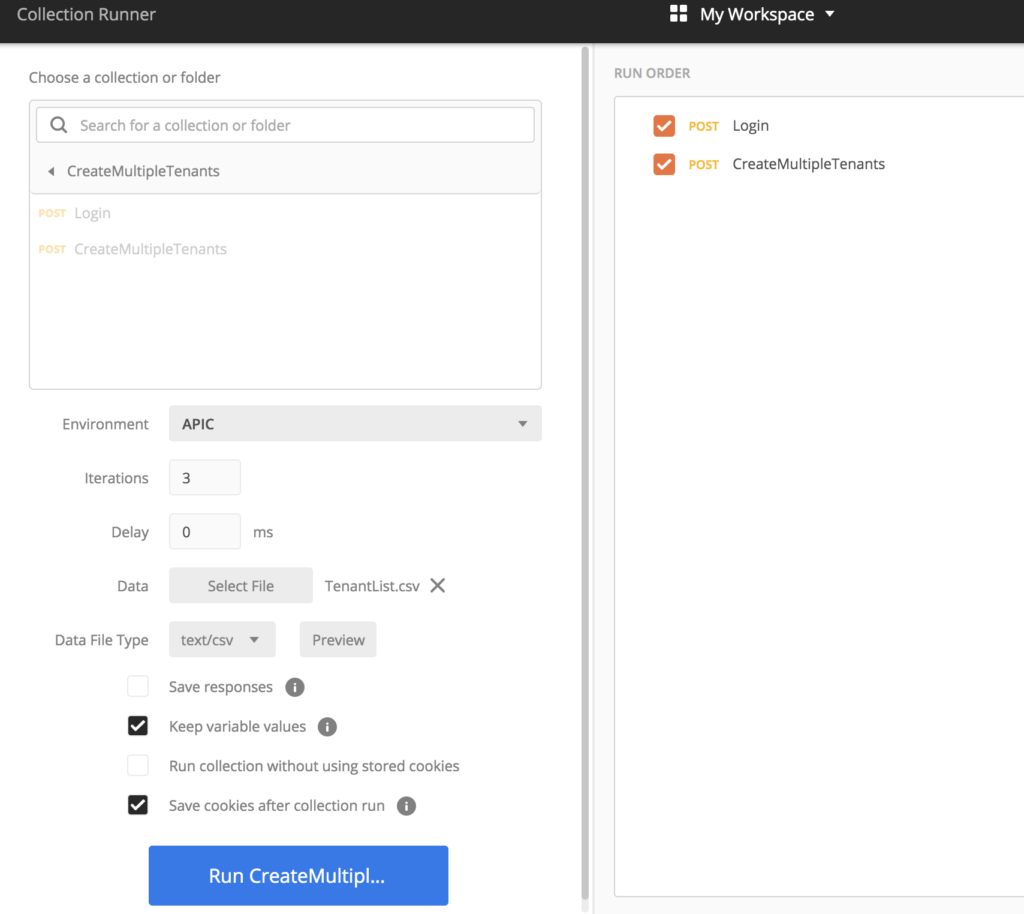
Select your environment and (by pressing on „Select File“ next to Data ) your control file.
After loading you can do a last sanity check by selecting „Preview“.
And now – another drum roll please – click on „Run CreateMultipleTenants“
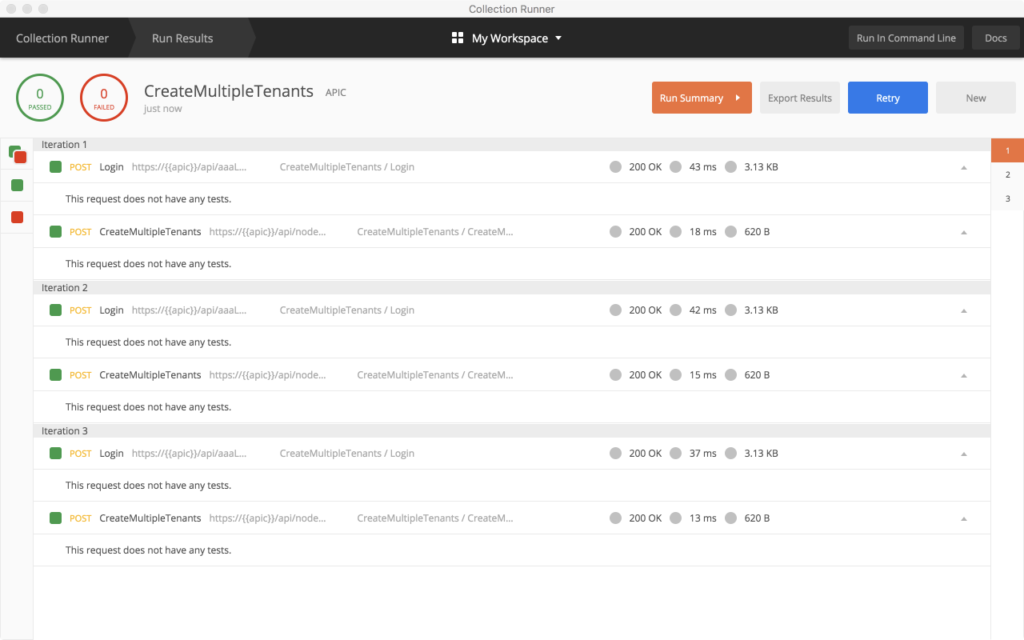
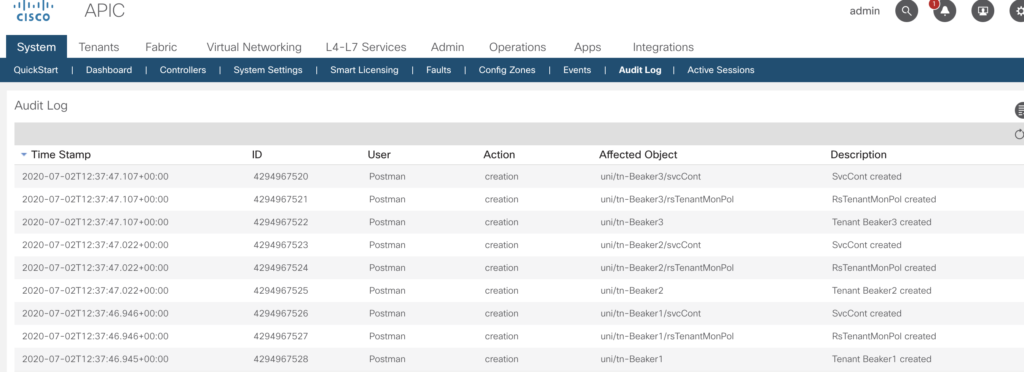
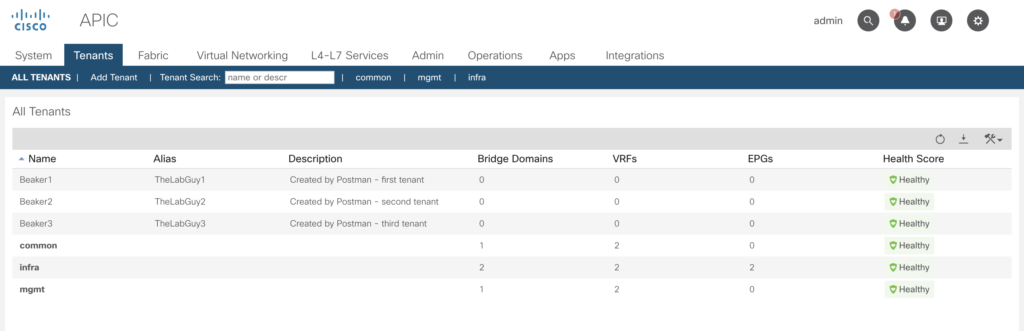
In your APIC console the result of your run is immediately visible.
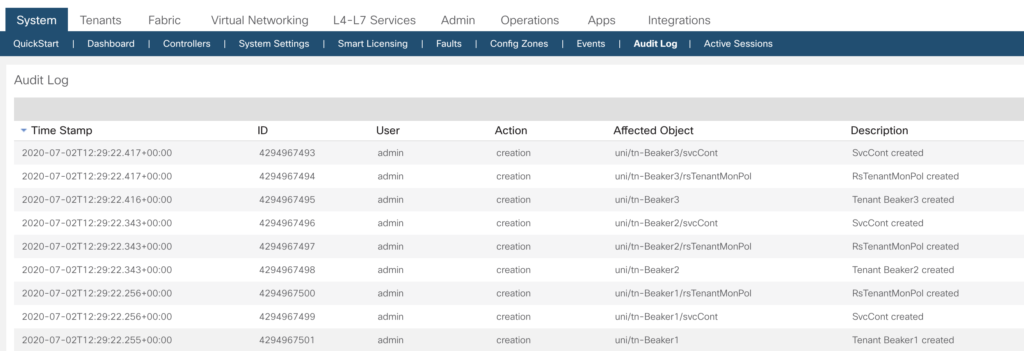
and as well – it is being tracked in the audit log.
At this point – think about user management – rather simple to create a dedicated account for your postman activities, that way it is much easier to track changes.